It is the main dish I love on late summer evenings, and I recommend buying round eggplants which allow you to make more precise slices. The filling is always to your liking, so get creative! It is also a great way to use up the last pieces of cheese and cold cuts, with more taste and imagination! This recipe is suitable for people with gluten intolerance, but it can be made the same way for those who can consume regular flour.

Prepare 3 sufficiently large bowls to coat the eggplant slices. In one put the flour, in the second the eggs beaten with a little salt and a little pepper. In the third, put the breadcrumbs and if you like, add a little salt, garlic or onion powder, and dried herbs here as well.
Wash and dry the eggplants. Cut off the core.
Slice the eggplants into slices no thicker than 1 centimeter.
Pass the slices first in the bowl with flour, then in the one with eggs, and finally in the one with breadcrumbs.
They should be evenly breaded on both surfaces and edges.
Let the breaded slices rest in the fridge for about 20 minutes.
Take a non-stick pan and pour enough oil to cover the bottom. I recommend one at least 28cm in diameter so you can cook several slices at once.
Heat the oil and put in the slices still a bit cold from the fridge. They will be crispier thanks to the thermal shock.
Place the cooked slices on a plate lined with absorbent paper.
If you prefer, you can also bake them. Just grease a baking tray with oil, place the breaded slices and drizzle with another bit of oil. Bake at 180°C for 30 minutes.
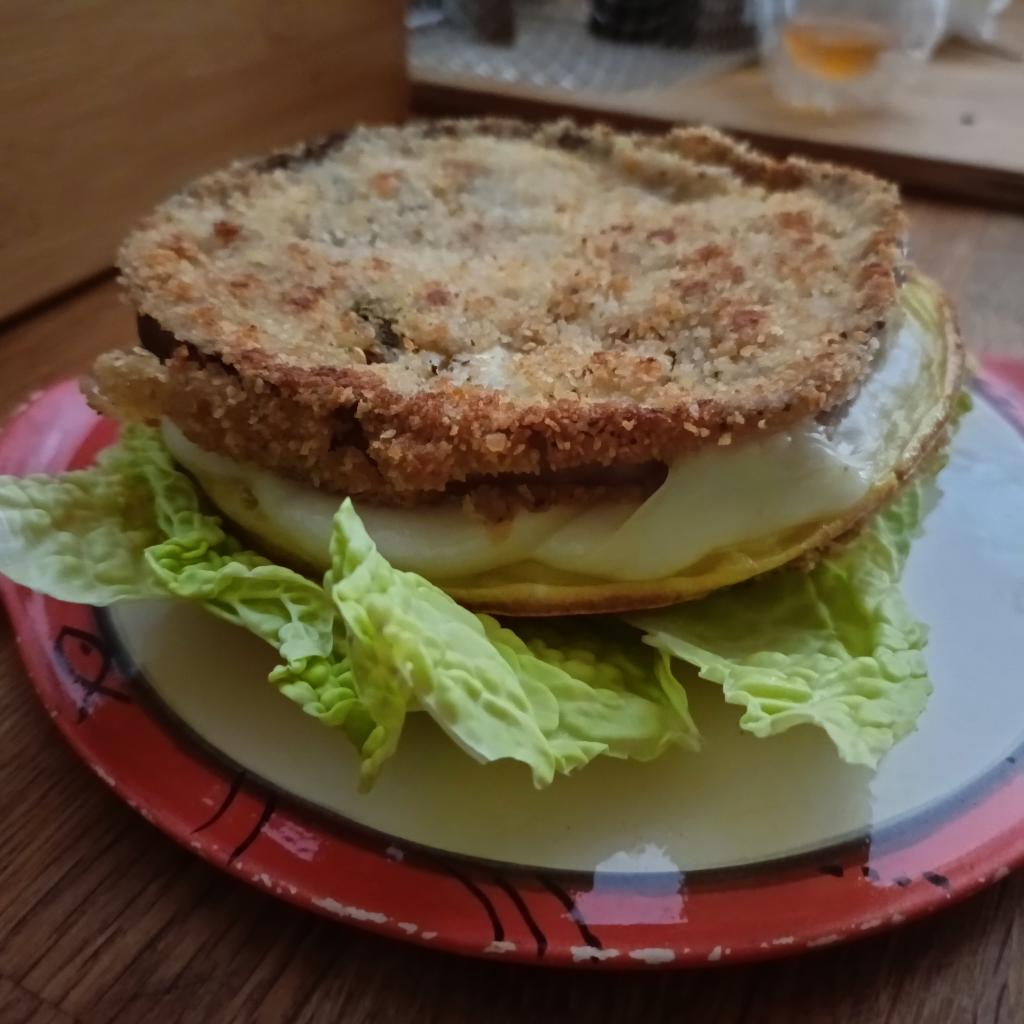
TIPS: if you want to eat them stuffed, I recommend cooking them all first and then reheating them in the pan or oven once stuffed. It will only take a few minutes.
Serve them hot on a bed of salad, or use them cold the next day for an amazing sandwich!
Store in the refrigerator for a maximum of 3 to 4 days
With the leftover breading you can also make excellent fritters, either savory by adding herbs as you like, or sweet by adding grated apple and cinnamon, or chocolate chips and orange zest to the mixture.
Italy, Lazio
| Energy (kcal) | 74 |
| Carbohydrates (g) | 1.3 |
| of which Sugars (g) | 1.3 |
| Fat (g) | 4.4 |
| of which Saturates (g) | 1.6 |
| Protein (g) | 6.75 |
| Fiber (g) | 1.3 |
| Sale (g) | 0.09 |